For many small business owners, freelancers, and students, a professional business email can make a huge difference in how clients perceive them. But not everyone can afford paid email services. If you’ve ever wished for a secure, ad-free, and professional email setup without paying monthly fees, Zoho Mail is the perfect solution. Unlike Gmail or Outlook, which often require paid business plans for domain-based email, Zoho Mail offers a completely free option for individuals and small teams. It lets you use your own domain name (like yourname@yourcompany.com) and gives you enterprise-level features with no hidden costs. In this step-by-step guide, you’ll learn how to set up Zoho Mail for free, from creating your account to configuring it with your domain, so you can start communicating like a pro today.
Why Choose Zoho Mail for Business
Before diving into the setup, it’s important to understand why so many professionals choose Zoho Mail as their go-to email solution.
1. Free Custom Domain Email
You can create an email address that uses your own domain, such as contact@yourstartup.in, giving your business a professional identity.
2. Ad-Free Interface
Zoho Mail offers a clean, distraction-free inbox. You won’t see ads cluttering your workspace, allowing you to focus purely on communication.
3. Top-Notch Security
It includes advanced spam filters, two-factor authentication, and strong encryption protocols. Your business data stays private and safe.
4. Cross-Device Compatibility
Access your Zoho Mail account from any device—desktop, tablet, or smartphone. The mobile app makes managing your business emails easier on the go.
5. Integration with Zoho Suite
Zoho Mail connects seamlessly with other Zoho products like CRM, Projects, and Books, making it a great tool for small businesses scaling up.
Step-by-Step Guide: How to Set Up Zoho Mail for Free
Let’s go through each step clearly so you can get your Zoho Mail account running without confusion.
Step 1: Visit the Zoho Mail Website
Go to Zoho Mail’s official website. You’ll see options for personal, business, and enterprise plans.
Click on “Business Email” and then choose “Forever Free Plan” to start setting up Zoho Mail for free.
Step 2: Sign Up and Create Your Zoho Mail Account
Click Sign Up Now and fill in your details like:
- Your name
- Desired email address
- Domain name (if you already have one)
- Password
If you don’t have a domain yet, Zoho will guide you to buy one through its partner services, or you can use any domain registrar like GoDaddy, Namecheap, or Google Domains.
Step 3: Verify Your Domain
This is a key step in creating your Zoho Mail account. To prove that you own the domain you’re connecting, Zoho will ask you to verify it.
You’ll get a TXT or CNAME record that needs to be added to your domain’s DNS settings.
Here’s how:
- Log in to your domain provider (like GoDaddy).
- Go to DNS Management.
- Add the TXT or CNAME record given by Zoho.
- Save the changes.
Once done, go back to Zoho and click Verify Domain. Zoho will confirm ownership within a few minutes.
Step 4: Add User Accounts (Optional)
If you’re setting up Zoho Mail for a small team or startup, you can add additional users.
Each user will get their own unique email ID under your domain (likesales@yourbrand.com or info@yourbrand.com).
This is great for teams that want organized communication while maintaining brand consistency.
Step 5: Configure MX Records
To ensure your Zoho Mail account sends and receives emails properly, you need to set up MX Records.
Go to your domain’s DNS settings again and replace existing MX Records with Zoho’s:
Priority: 10
Host: mx.zoho.in
Save the settings and wait a few minutes for DNS propagation. Once verified, your Zoho Mail inbox will start receiving emails from your domain.
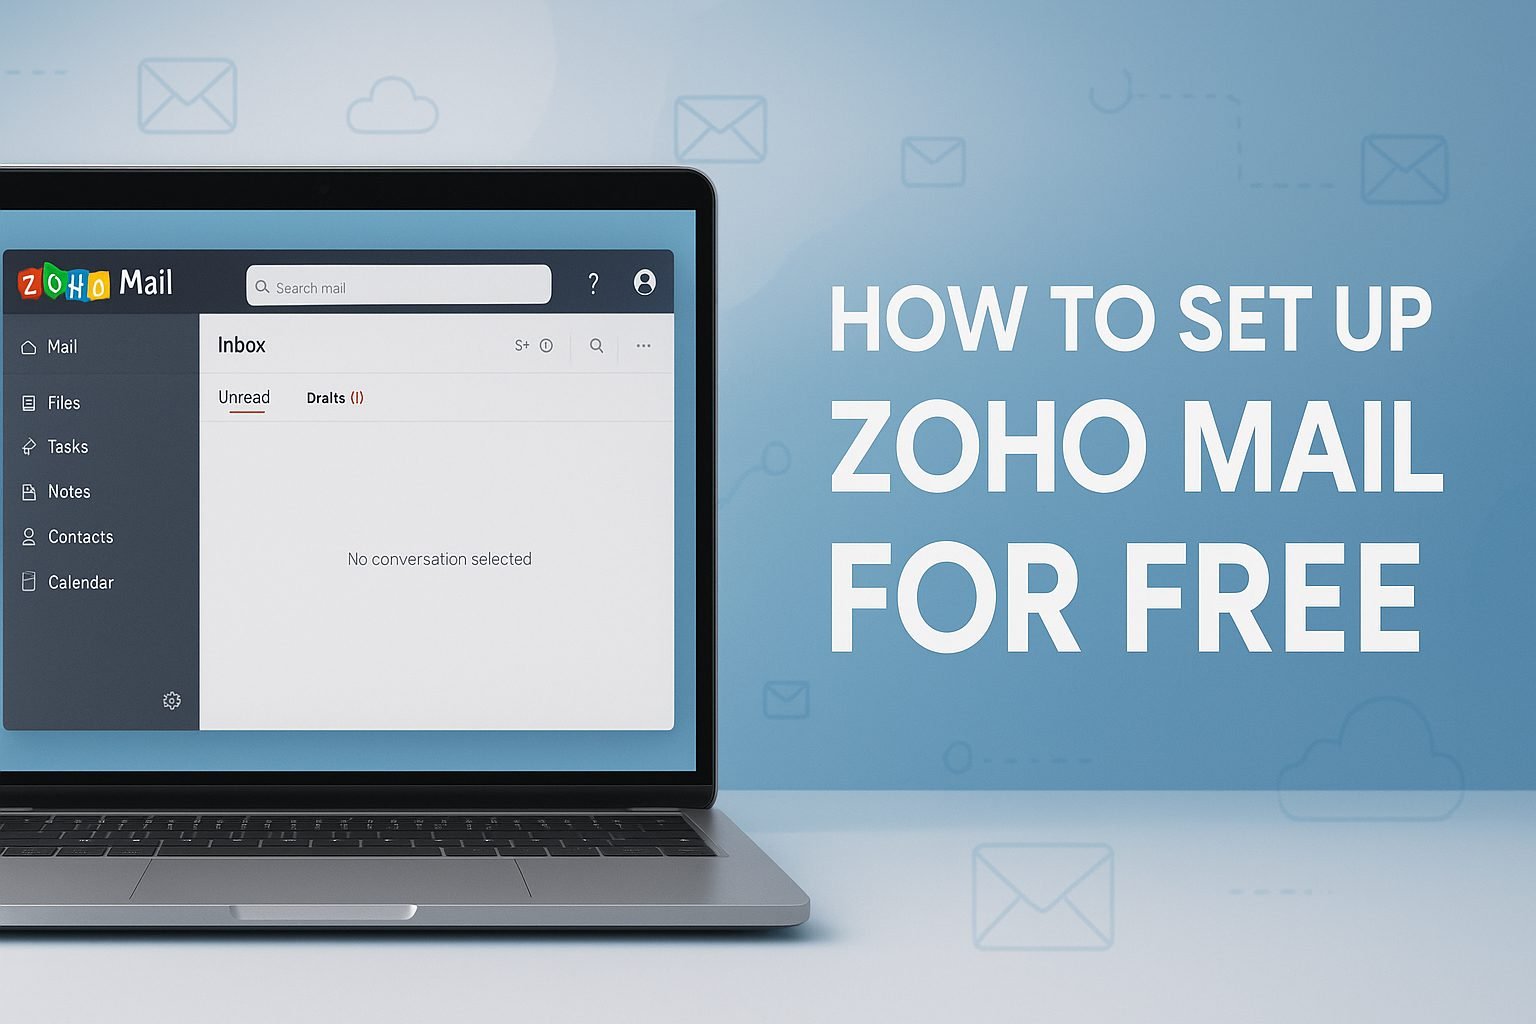
Step 6: Access Your Zoho Mail Inbox
Now your setup is done. Visit mail.zoho.com and log in with your credentials.
You’ll see a clean, ad-free inbox with smart filters, folders, and settings. Customize your signature, add labels, and explore Zoho’s powerful features like calendar, contacts, and notes.
Bonus Tip: Configure Zoho Mail on Outlook or Mobile
Many users prefer accessing their business emails through their favorite email clients. Zoho Mail makes that easy too.
For Outlook:
- Open Outlook and go to Add Account.
- Choose IMAP and enter your Zoho Mail credentials.
- Use the following server details:
- Incoming: imap.zoho.in
- Outgoing: smtp.zoho.in
- Save and test the connection.
For Mobile:
Download the Zoho Mail app from Play Store or App Store, log in, and sync your account instantly.
How Zoho Mail Helps You Look More Professional
In business communication, first impressions matter. A domain-based email address not only looks credible but also builds trust with clients and partners.
For example, imagine receiving an invoice from accounts@brightfinances.in versus brightfinances@gmail.com. The first one immediately appears more legitimate.
Zoho Mail gives you that professional edge without charging a single rupee. It’s a smart choice for startups, freelancers, and even college students who want to appear reliable and organized.
Zoho Mail for Beginners: Easy Configuration Tips
If you’re new to Zoho Mail, here are some quick configuration tips to enhance your experience:
- Set up filters to automatically sort emails from clients or vendors.
- Create folders for projects, clients, and invoices.
- Add your logo in your email signature for brand visibility.
- Enable 2FA (Two-Factor Authentication) for better account security.
- Use keyboard shortcuts to navigate faster and stay productive.
Mini Story: How Riya Turned Her Freelance Career Around with Zoho Mail
Riya, a freelance content writer from Delhi, struggled to get high-paying clients because her Gmail address didn’t look professional. When she switched to Zoho Mail and started using riya@contentbyriya.com, her client responses doubled.
Her emails now looked polished and credible, helping her land consistent projects. Just a small change like a professional email address transformed her freelance journey.
Read More-
- Top 5 Best Tablet Accessories to Buy in 2025
- Top 5 Best Xbox Gaming Accessories in 2025
- Best Android Launcher for Christmas Theme 2025
- PS5 Update Adds New Animated Theme and Features
- Top 5 Best Nintendo Switch Accessories in 2025
Extra Benefits of Using Zoho Mail
- Calendar integration helps you schedule meetings seamlessly.
- Tasks and notes built into the interface improve daily productivity.
- Migration tools let you easily move from Gmail or Outlook.
- Custom storage plans available if you want to upgrade later.
FAQs about Zoho Mail Setup
1. What do I need before I set up Zoho Mail for free?
Before you start, ensure you have a custom domain name, an active internet connection, and access to your DNS settings. Following the Set Up Zoho Mail for Free guide makes the process quick and beginner-friendly.
2. How long does Zoho domain verification take?
Usually, it takes 5 to 30 minutes after you add the verification record to your DNS.
3. Can I use Zoho Mail without a domain?
Yes, you can create a free personal account at zoho.com, but a domain-based email looks more professional.
4. Is Zoho Mail secure for sensitive business emails?
Absolutely. Zoho Mail uses advanced encryption, anti-spam filters, and two-factor authentication for maximum security.
5. How early should I book a baby shower photographer?
It’s best to book your photographer 15–20 days in advance to ensure availability and perfect planning.
Reviews from Real Users
Amit Kumar (Startup Founder)
“Zoho Mail helped us look professional without spending a penny. The setup was simple, and their spam protection works perfectly.”
Sneha Tiwari (Freelancer)
“Switching from Gmail to Zoho Mail made a big difference. Clients take me more seriously now. Plus, no ads—love it!”
Rajesh Patel (Small Business Owner)
“I manage my business communication with Zoho Mail and CRM together. It’s like having a full business suite for free.”
Forum Q&A Discussions
Q: How do I connect my Zoho Mail with my domain hosted on GoDaddy?
A: Add Zoho’s TXT record in your GoDaddy DNS settings, verify it, and then set Zoho’s MX Records. It takes about 15 minutes.Q: Can I migrate from Gmail to Zoho Mail without losing data?
A: Yes, Zoho provides a migration tool that lets you transfer all emails safely without downtime.
Final Thoughts
Setting up Zoho Mail for free is one of the smartest moves you can make for your business or freelance career. It gives you a professional identity, solid security, and smooth functionality, all at zero cost.
You don’t need to be tech-savvy to get started. Just follow the steps in this Set Up Zoho Mail for Free guide, and you’ll have your new business email running in no time.


Leave a Reply